Reviews
QuadJunkie Carbine XL 5" Build & Review
Posted on January 16, 2017 • 8 min read • 1,650 words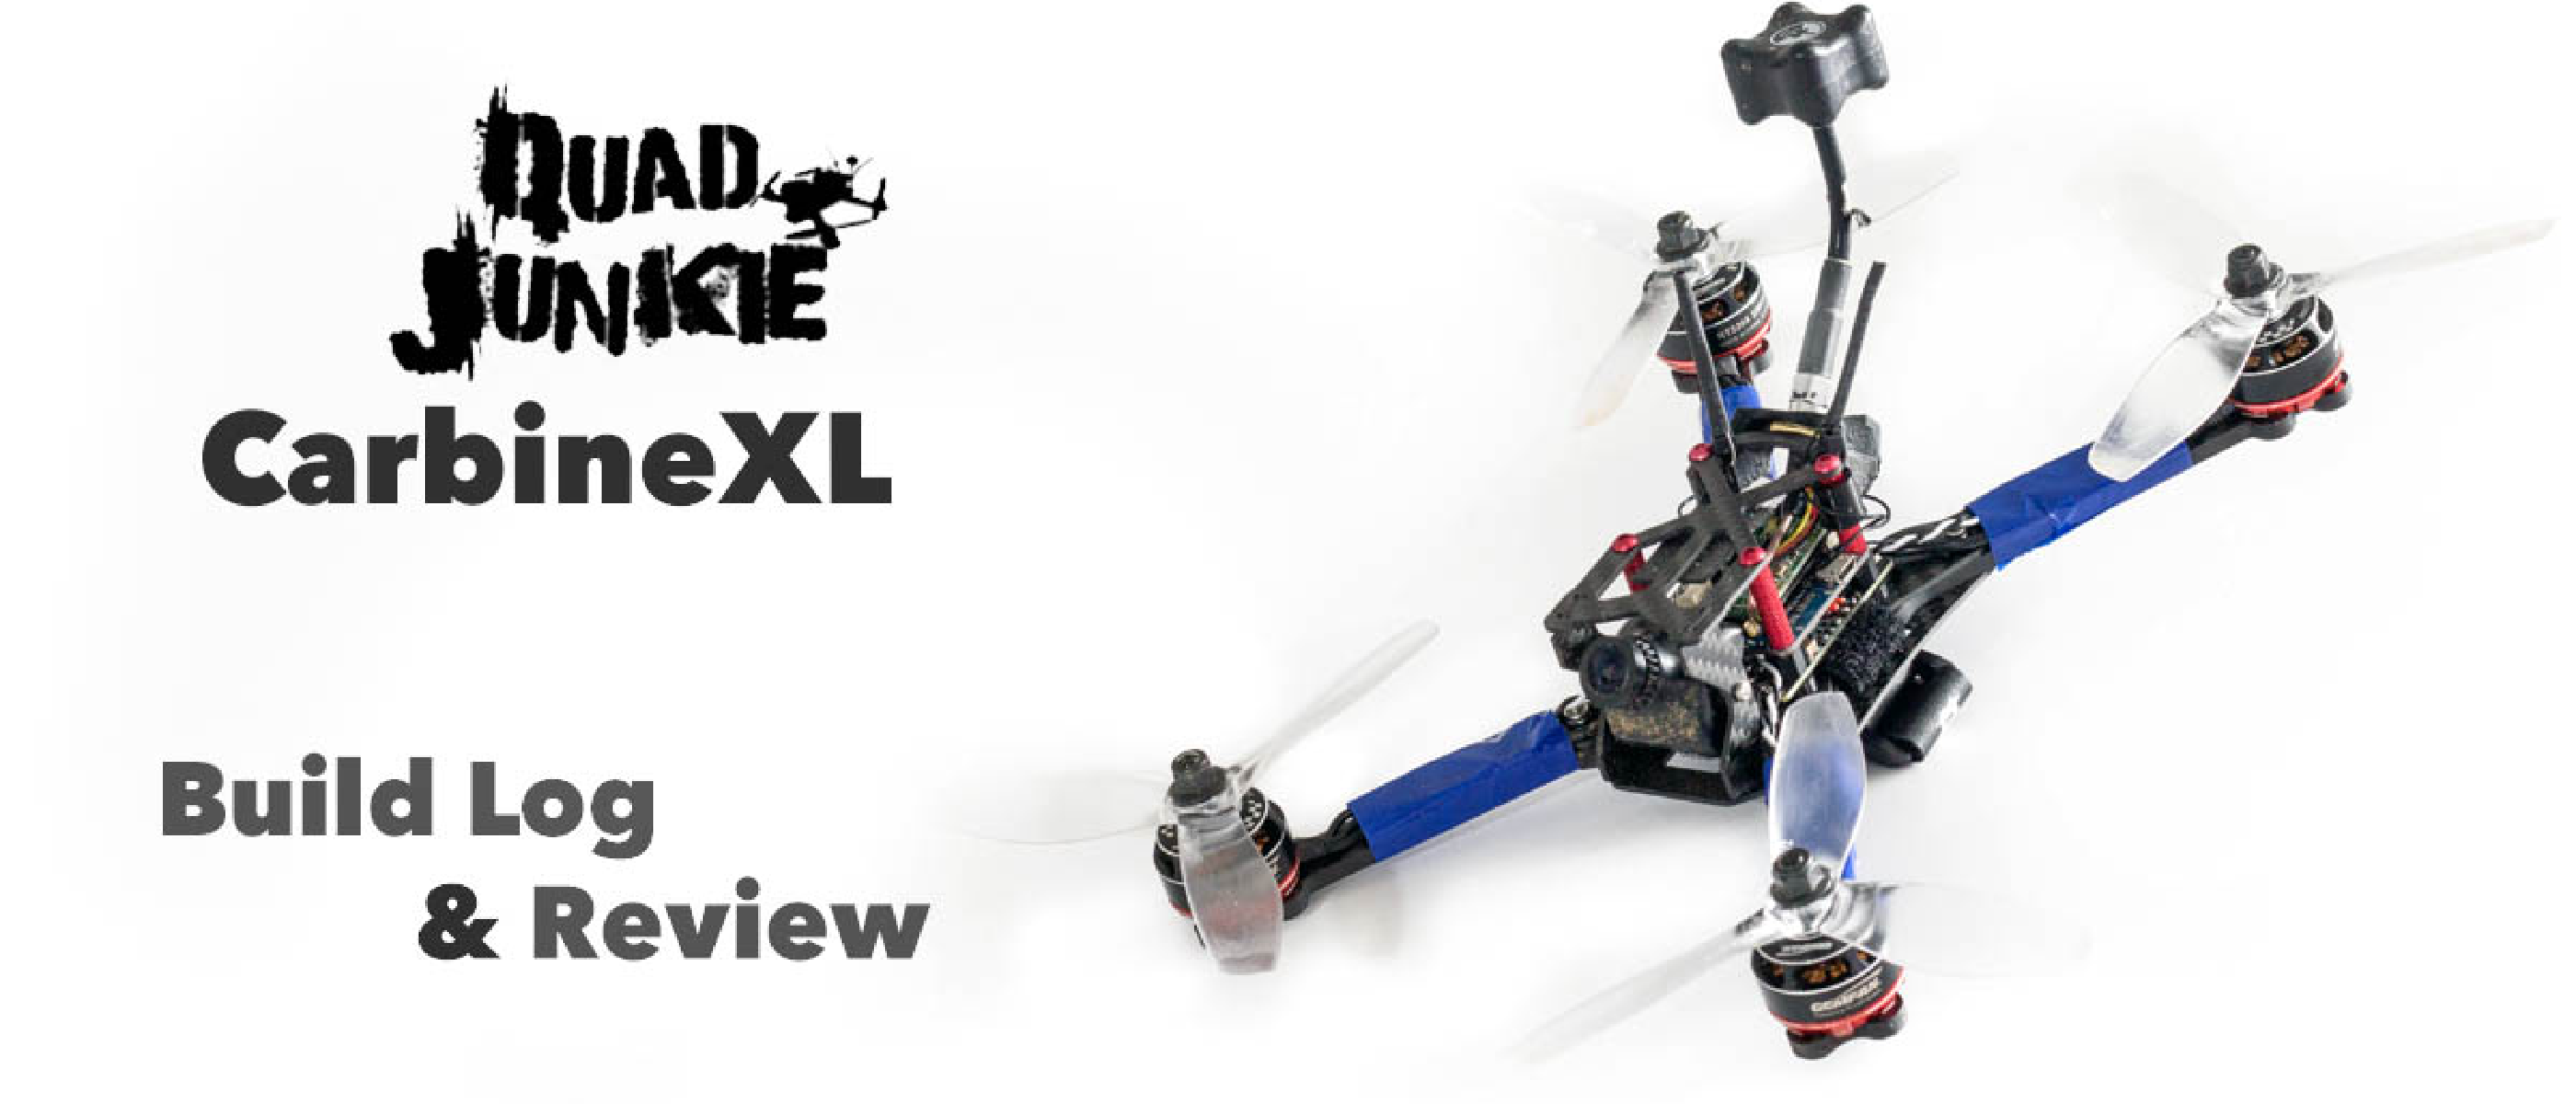
So through the power of social media I speak to a lot of people, mainly through Instagram as we share our stories and follow on other peoples progress, creations and whatever else they tend to post there. I’d spoke to Ian Richardson a fair bit, and followed him for a while on IG and I got the chance to meet and hang out with him in Hawaii. He’s UK born and bred, but lives in New Zealand - which for me is fascinating because when I went to Drone World’s I really was just amazed at how many other frame manufacturers there were that really had no exposure at all in the UK. There were some good and bad frames, but the topic of conversation that kept reoccurring was the current trend - Stretch X or True X. Anyway, Ian had told me of a great new frame a company he knows were bringing out, and that I should take a look. I’m pretty sure I’d seen pictures of this on Instagram already.

For me it looked like a great design - it had some similar traits to the Shrike with a very minimalist top section with arms designed to be as efficient in the air as possible. But most importantly, it was a Stretch-X! After some discussions they were keen to send a frame over for me to test and review, and I was definitely keen - for me it’s a great build, but also a test to see if Stretch X is something that suits me or not.
So let’s get on with the review we’re procrastinating here… :)
Product Description
The Ultralight Carbine series was developed for maximum speed and agility with minimum loss of structural integrity.
These are the fastest frames in the QJ fleet and we were so stoked with the performance we made one in each size and style of the original Carbine 185,
Stretched X race style frame with stick arms (very strong stick arms)
Hardware List:
- 4 x 25mm Titanium Screws
- 4 x 16mm AluminiumScrews (Single PDB/FC Low Profile)
- 4 x 10mm Aluminium Screws
- 4 x 3mm TPU Base Spacers
- 4 x 2mm TPU Base Spacers (Raceflight revolt w/ O-rings)
- 4 x M3 Nylok Nuts
- 4 x 6mm Nylon Spacers
- 4 x 12mm Aluminium Standoffs
- 4 x 20mm Aluminium Standoffs
- 1 x Quad Junkie Battery Strap
The Build!
So with the frame components laid out, let’s see what other items we’re completing the build with:
- GemFan 2205 RS 2300kv motors
- FuriousFPV Silky 30A BLHeli_S esc’s
- OpenPilot Revo flight controller
- Matek HubOSD H-Type PDB
- HS1177 Camera
- TBS Unify Pro HV Vtx
- TBS Triumph antenna

Coming all the way from New Zealand Gary sent it over with a nice little souvenir bag, it’s on my list of places to visit and hopefully I’ll get to go in the near future. A nice little touch :)
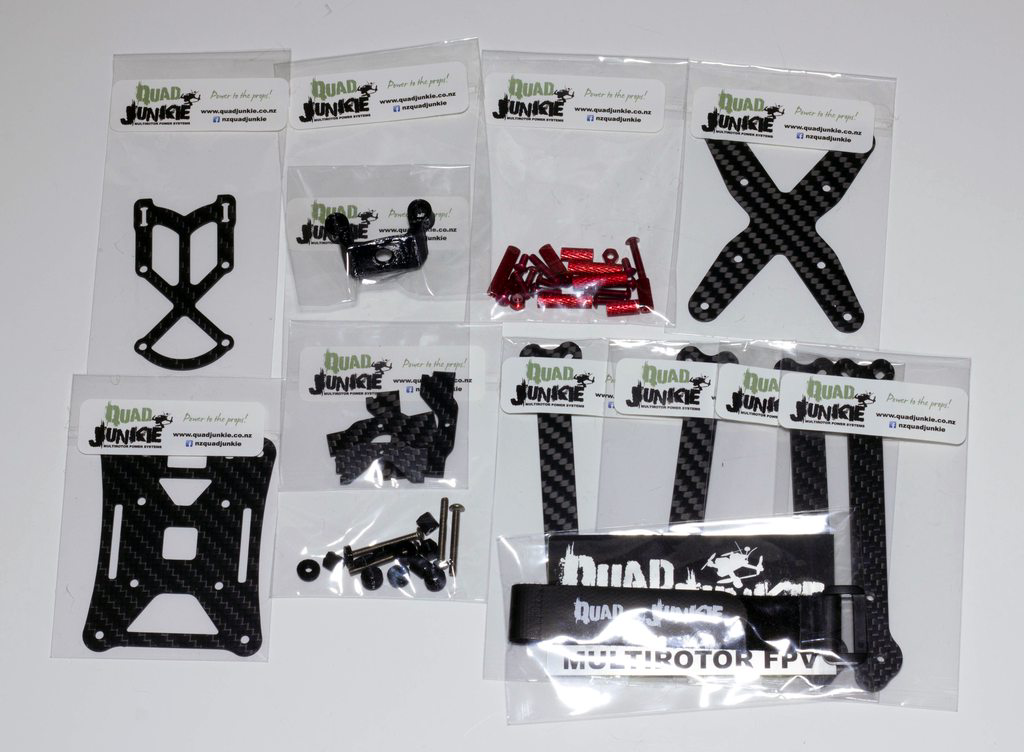
Inside the bag every bit of hardware is individually wrapped - a great idea that stops the carbon or any of the hardware getting scratched in transit.
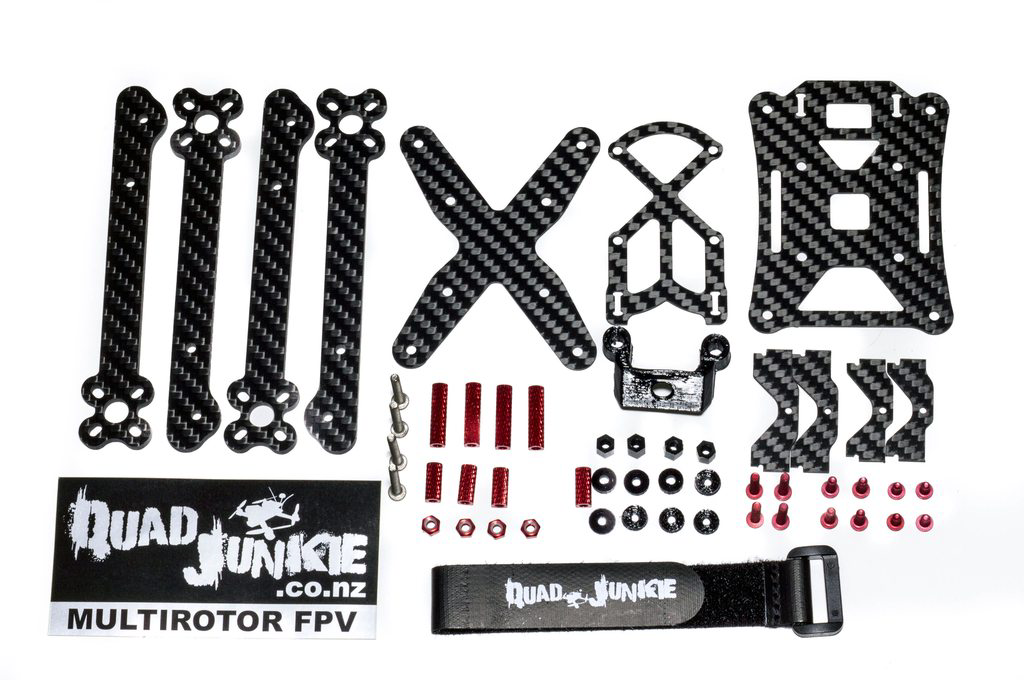
With all of the bags removed we can see all of the hardware we get with it. There’s a few different screws and standoff lengths we have on offer as the frame supports multiple configurations depending on your preference which we’ll touch on at the end of the build. For the sake of clarity we can note that I’m going to be running the High Profile Stack version, just to ensure I have enough space to get everything in without any compromise.
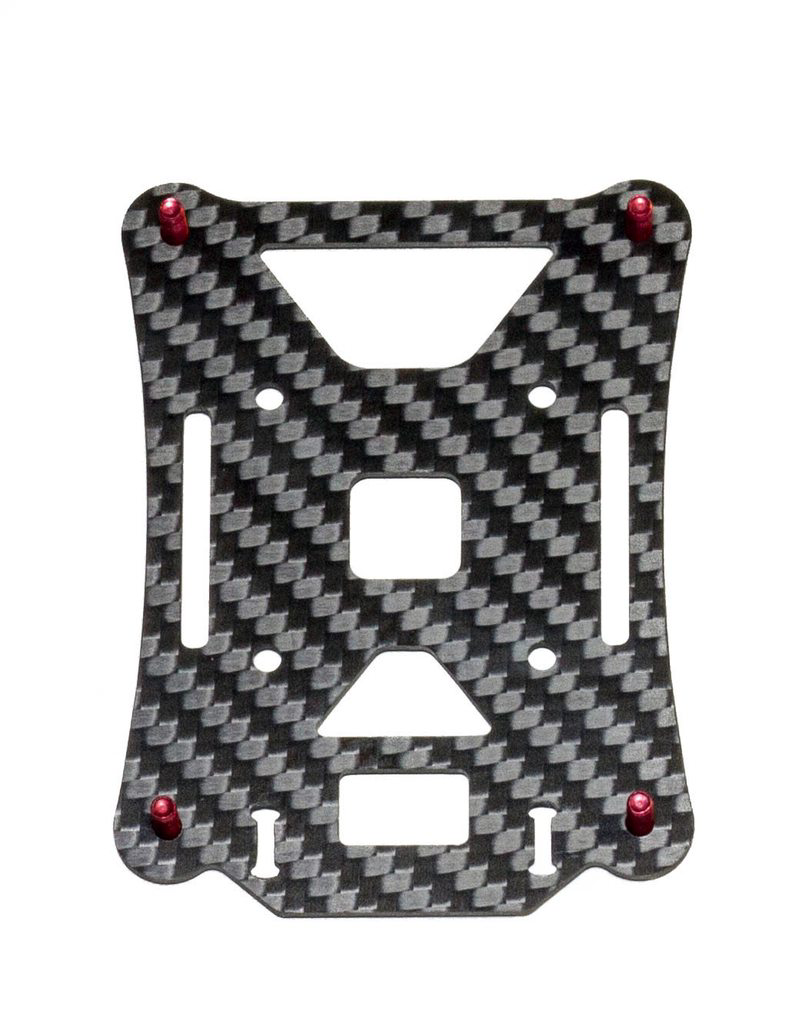
So let’s get on with the build! We can take the bottom plate and add the outer screws that support the arms.
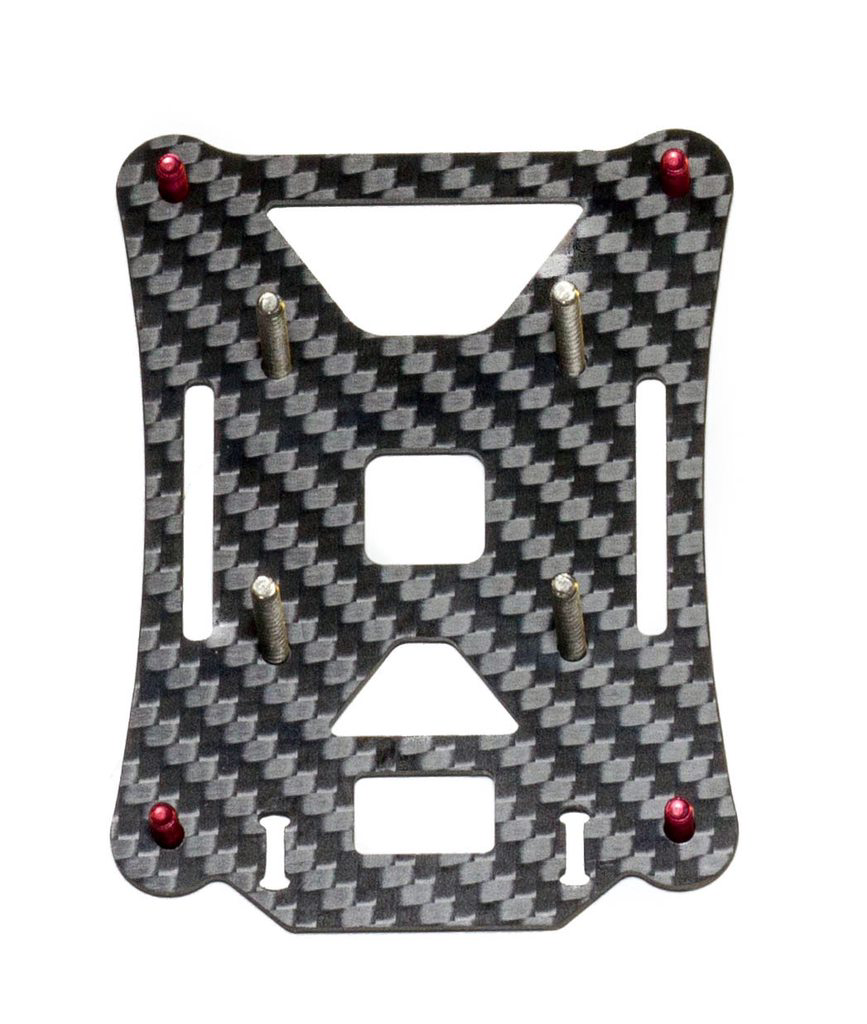
At the same time we can also add the inner screws that make up the central core of the frame. You’ll see the screws in this picture are not the red anodised aluminium screws that we saw in the exploded parts view above. I have a very love-hate relationship with Aluminium screws and most of the time I do not find them suitable when it comes to structural strength. From my Shrike days they stretch very easily and will not take the abuse that steel screws can, and while they’re lighter I do not find them worth it so I’ve switched them out as a precaution.
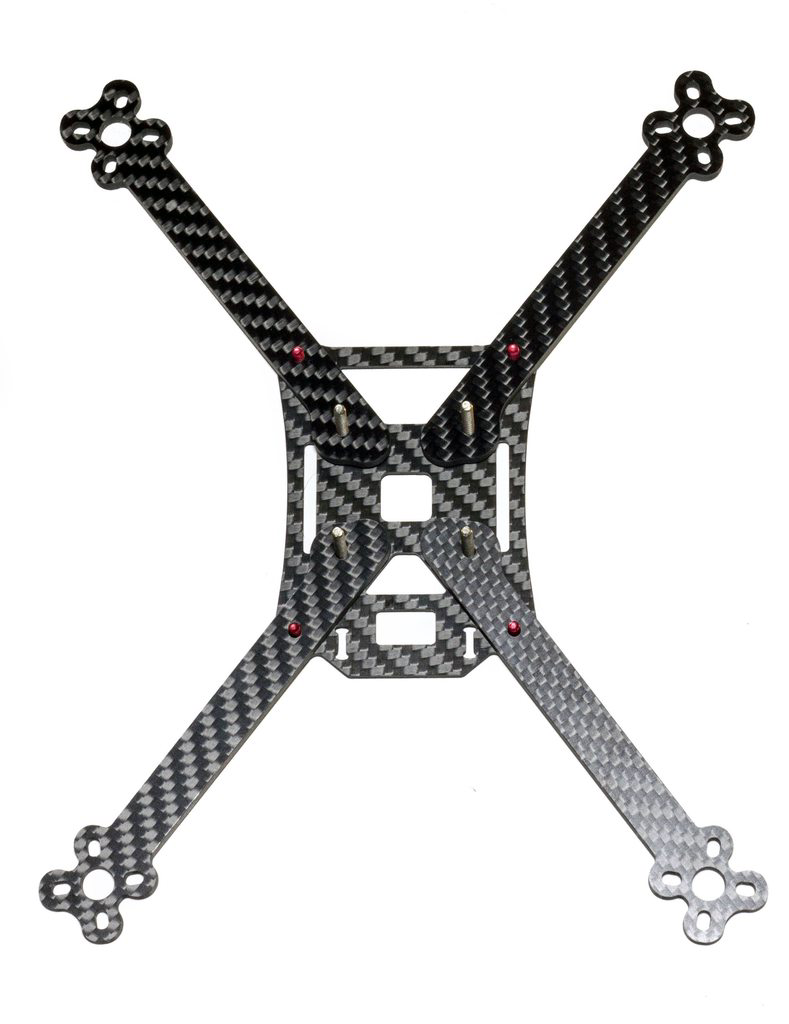
Next we can add the arms in - you’ll notice the arms do not meet in the center which is different from many of the frames I’m used to. While I don’t think this will be an issue it’s something to watch out for in those heavy crashes, but we shall see :).
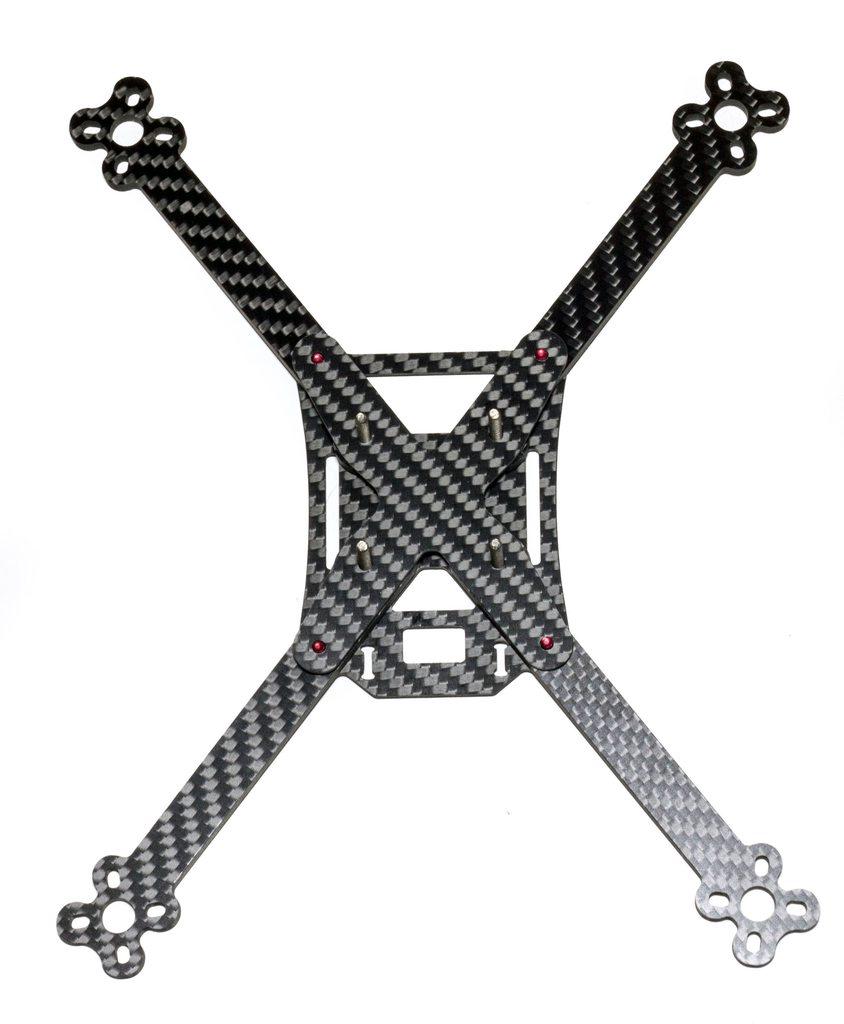
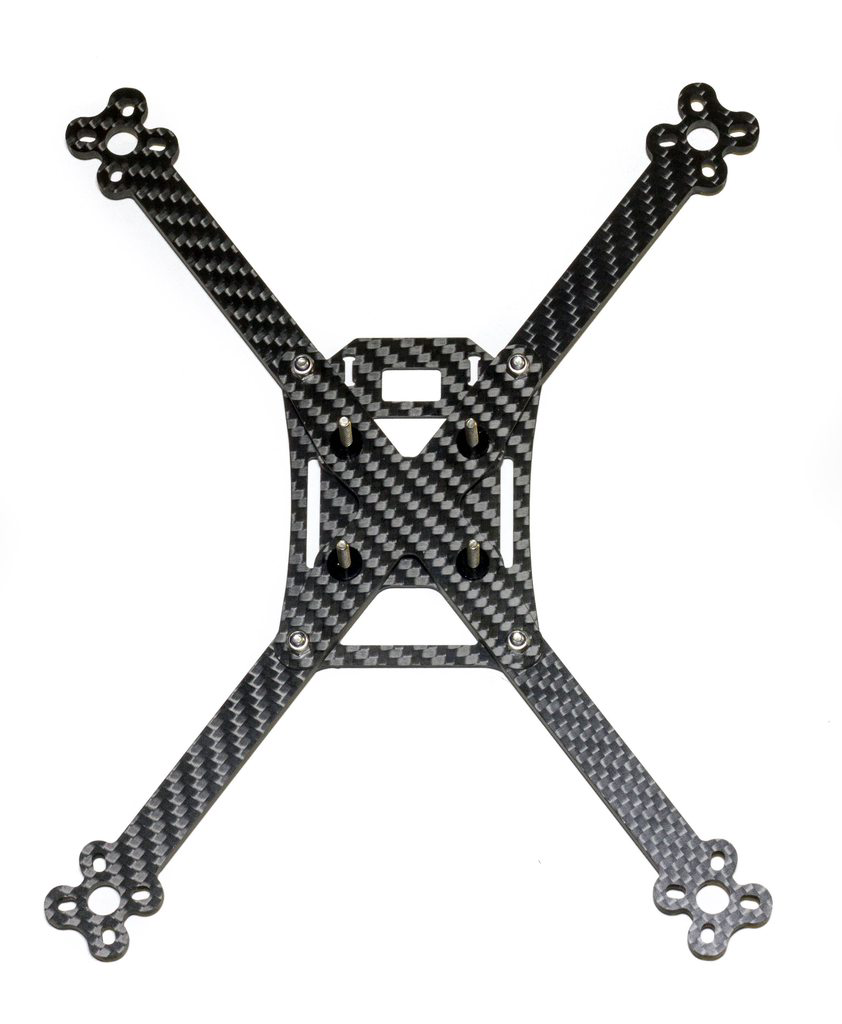
Next we can add in the top plate. With the base frame structure complete we can see the profile of the frame. For me personally I wonder if it’s worth removing the side battery slots on the lower bit of carbon as they won’t really add much to it, strength or otherwise, but would add a bit of drag which could otherwise be eliminated.
With that now complete we can add in the nyloc nuts to the outer screws and add in the washers for the PDB to sit on. You’ll also notice on here I’ve removed the aluminium screws, sorry guys! It’s nothing personal, I just have a hate for them right now :)
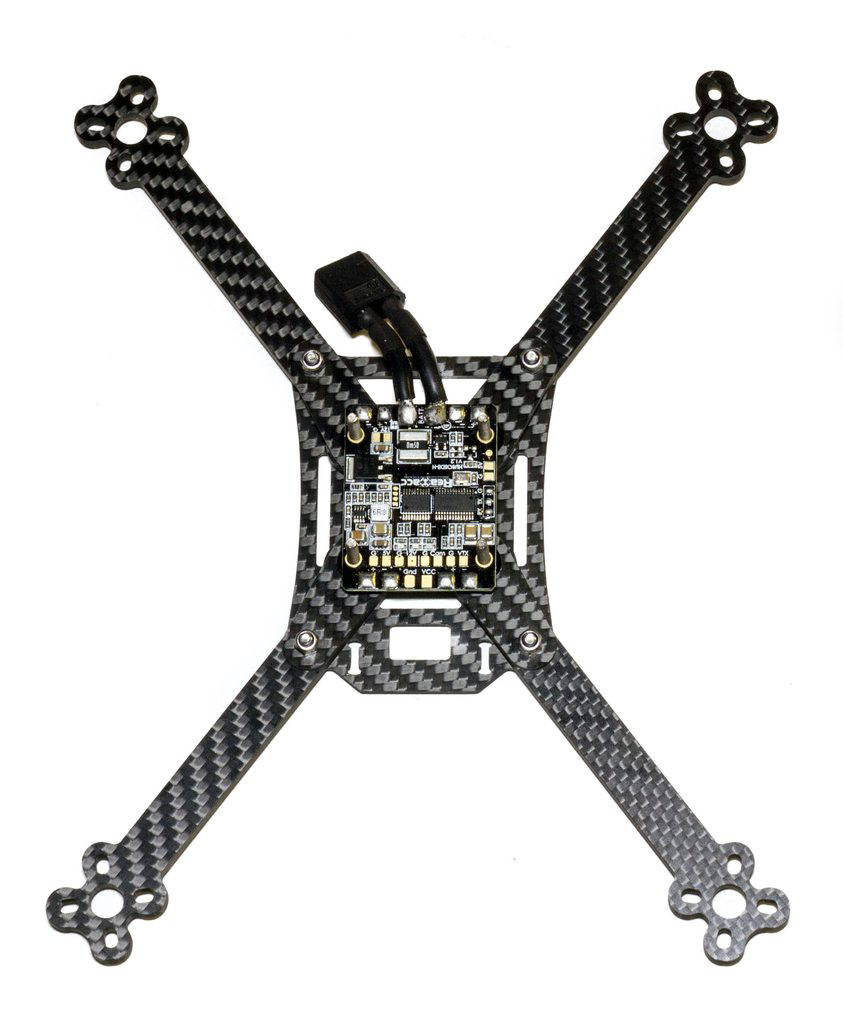
Once we’ve done that we can add the PDB in - we’re using the HUBOSD on this build as it provides a great OSD with current monitoring, but has none of the clutter you see in MWOSD and other alternatives. I’ve gone with the H layout which seems to work well in a Stretch-X build with the ESC power pads being located towards the front and rear, keeping all of the wires internal to the build.
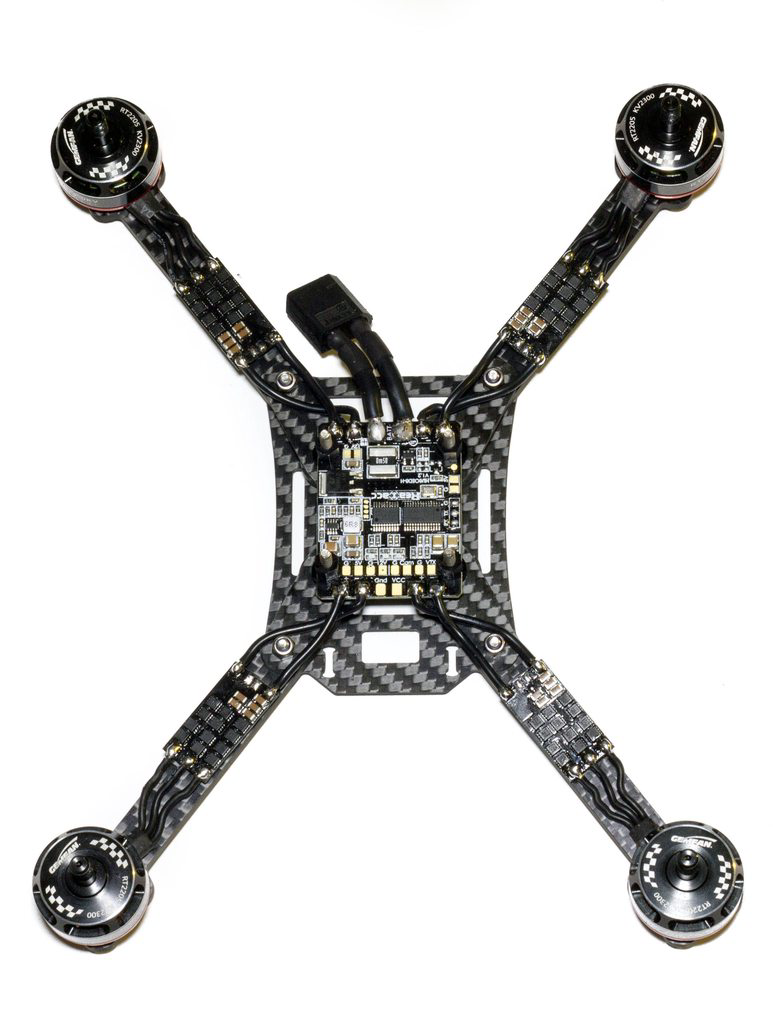
With that done we can now add in the motors and ESC’s. I went for the FuriousFPV Silky 30A because their profile pretty much exactly fits the arm profile, meaning we’ll have reduced drag than one of the wider ESC’s would provide.

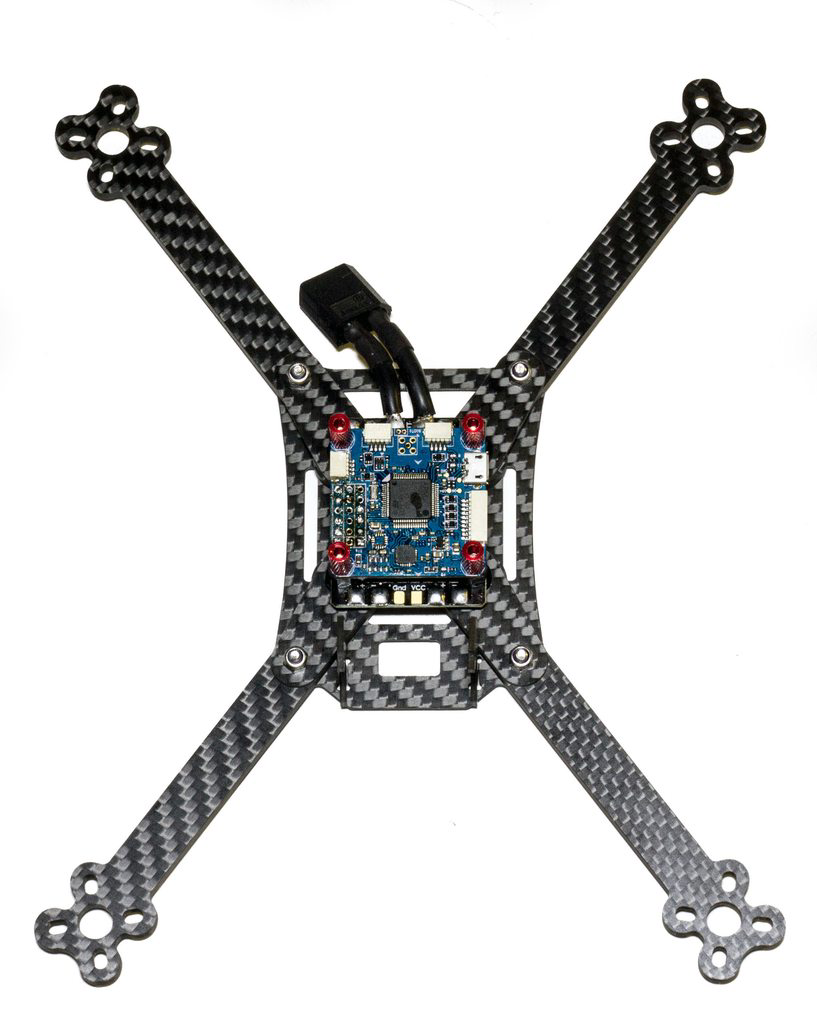
With that done we can now add in the flight controller. This is probably my all-time favourite FC right now because it supports Raceflight and Betaflight, but has a decent MPU6000 gyro connected via SPI and of course is an F4, meaning it’s up to date and more modern than even some of the FC’s coming out recently.
Next we can add the standoffs, as I say for this build we’ve gone with the normal tall configuration so that everything fits in without any issues.
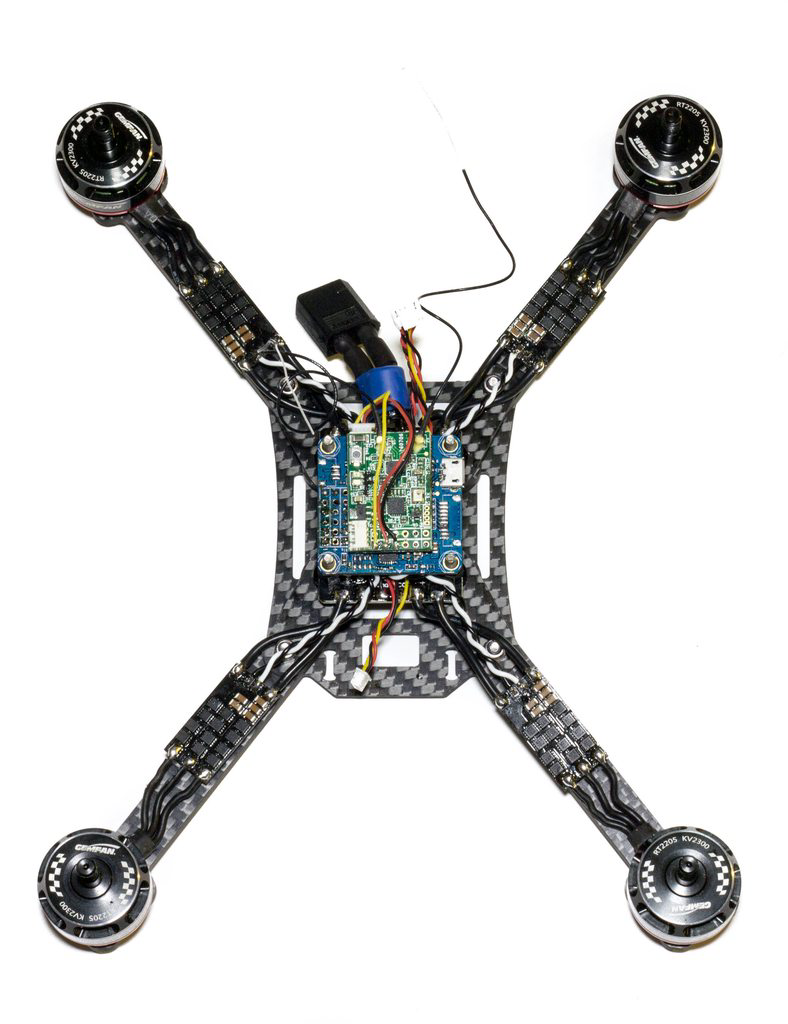
Once that is done the only thing left is to add the camera and vtx wiring ready for the HS1177 and TBS Unify Pro HV.
Now we can add the top plate and its screws. I’ve left the Camera and VTX out here just to see how well the carbon camera plates fit together.
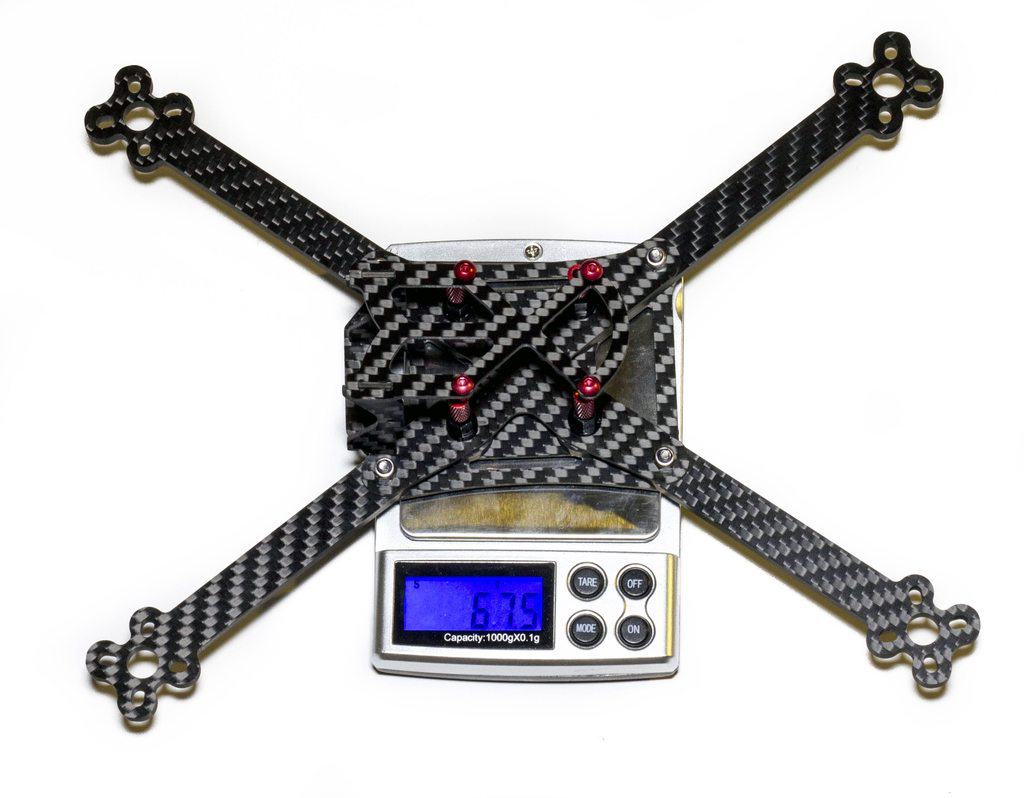
I actually did a dry build before putting it all together just to see how much the frame weighed compared to others that are not Stretch X, we have a very respectable 67.5 grams which is super light for a 5" build, nevermind a 5" build that has longer arms than normal!

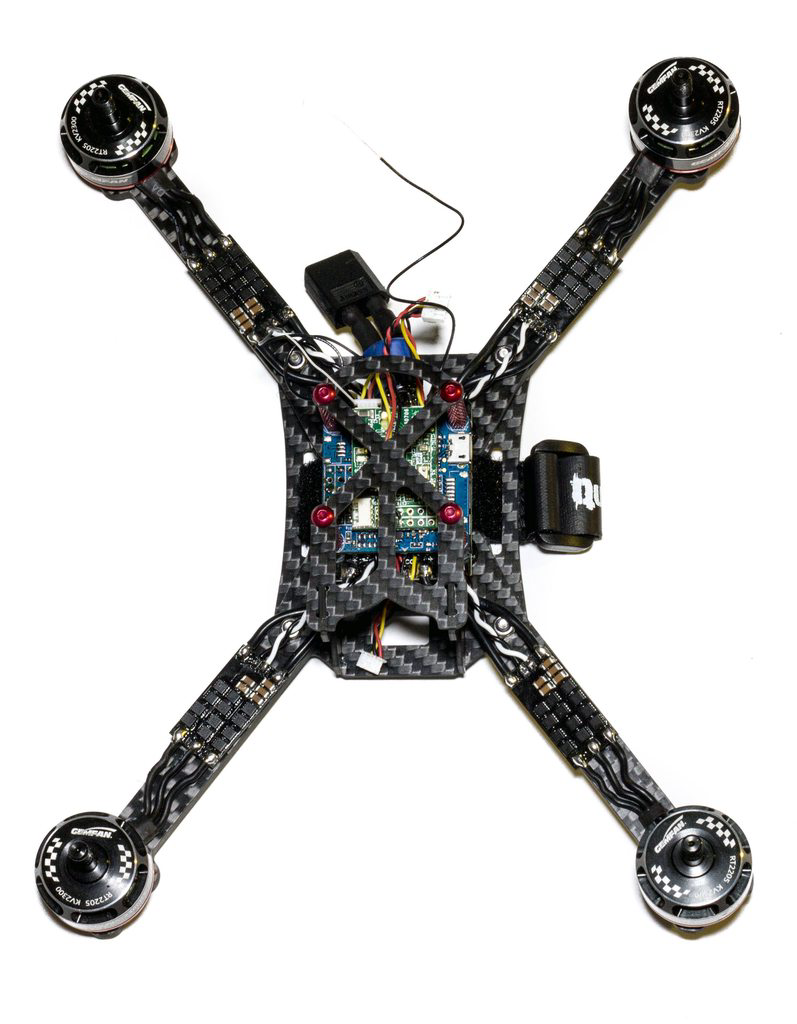
With the frame finished we’ve ended up at 303.0 grams on the mark, a very respectable weight considering this is with everything except the Lipo. No surprises here but we have a very respectable weight for a racing frame.
The Review
So how does this frame fly? I’ve had this frame for a couple of months now (sorry Gary!!), as it’s taken me a while to get to fly it due to other commitments and holidays, but I’ve also spent a while tuning it and testing it because it does definitely require a different flying style to fly a Stretch X (and a different tune!)
I’ve used it over the past 3 or 4 sessions flicking between Stretch X and True X, trying to see if I can find a preference. In terms of the frame itself it has held up to all of the abuse I’ve given it with countless crashes and burying it into the mud in the UK’s wet and miserable weather, without any failures whatsoever! In terms of the Stretch X itself, I’m not sure it’s for me as a whole, I think I still prefer the feel of a normal X particularly in smaller tracks which is predominantly what we fly over here.
Pros
- Super lightweight 5" frame designed for racing
- Low drag profile for that optimum Stretch X fast racing
- Tight HS1177 mount that even screw-less will hold the camera in nicely.
Cons
- Hard-mounted FC may cause issues in certain configurations but I believe they are working on a solution for this.
- Heavy crashes may break the arms and/or the plates for the bottom section, though I haven’t yet - but I didn’t fly it in hazardous environments like car parks or indoors.
So overall the frame itself has a lot of positives, and a few negatives to go with it. QuadJunkie are actually just about to release an updated version of the frame that solves many of the issues we found such as proper soft mounting ability and other such options. So if you like the frame but are put off by the Cons, then check out the new one, as it seems to be even better than this one! :)